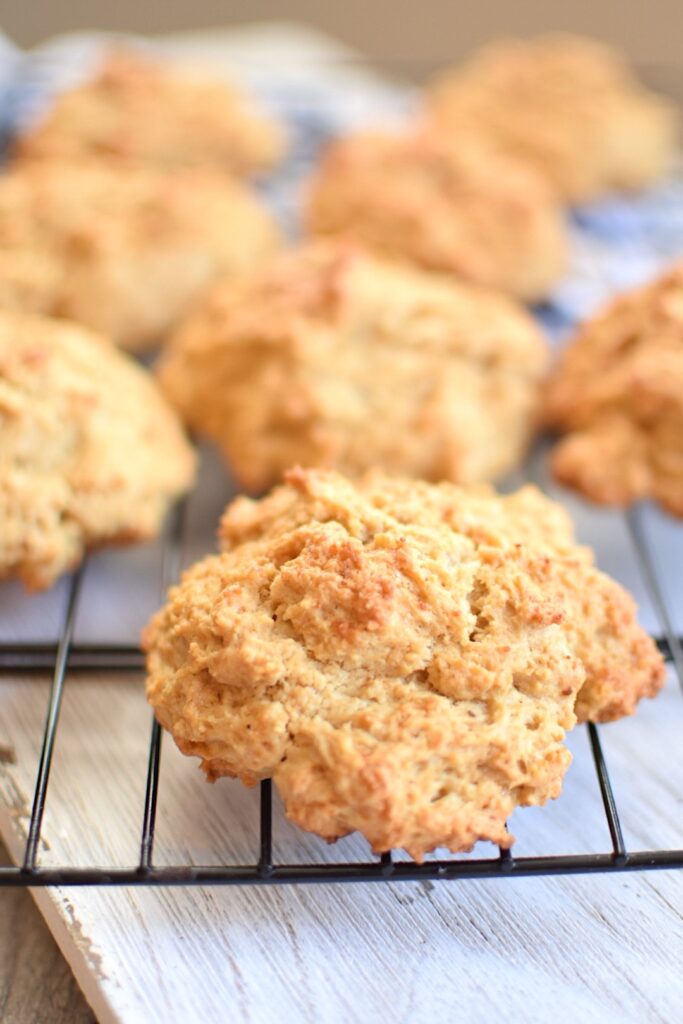
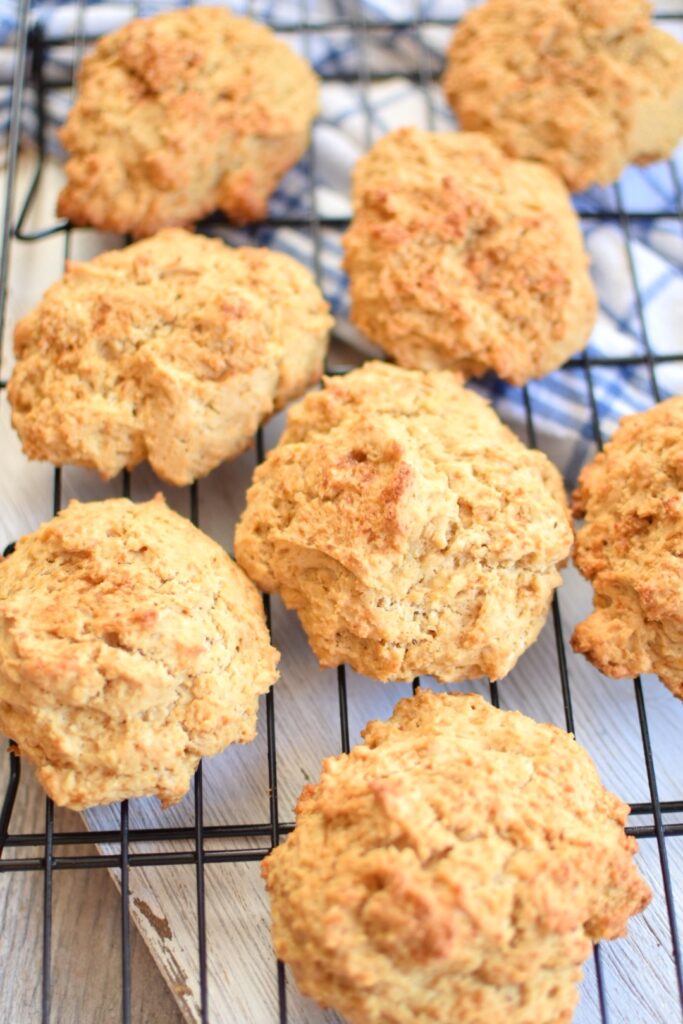
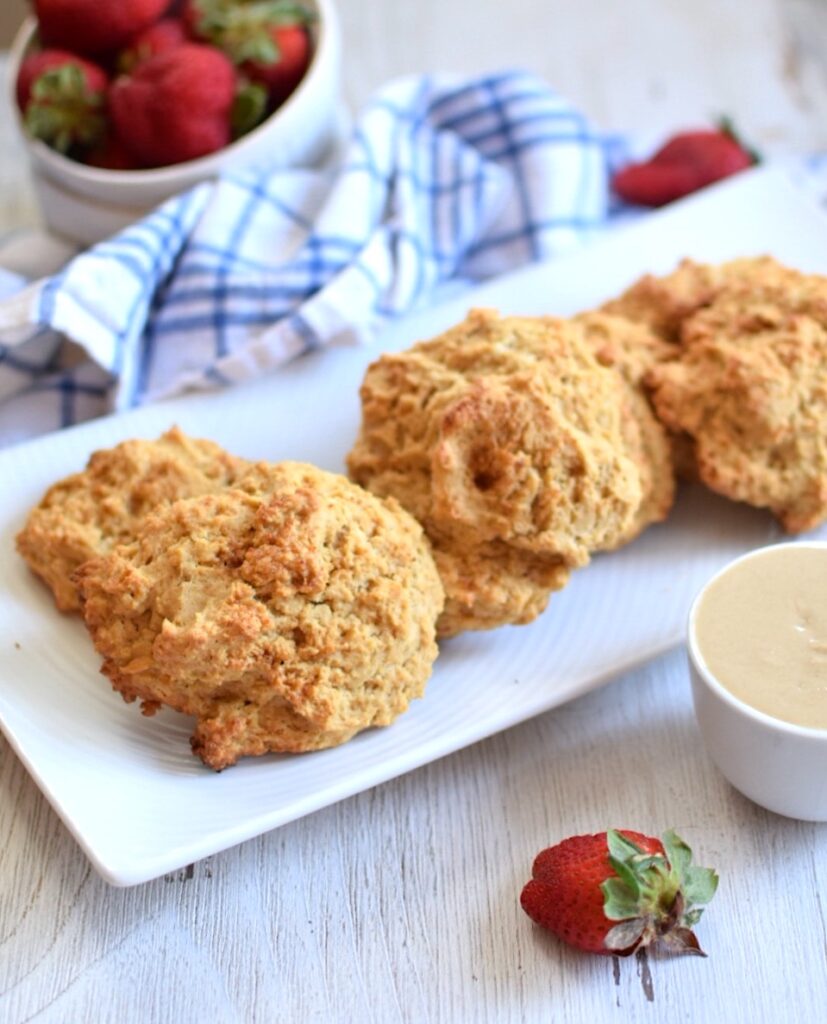
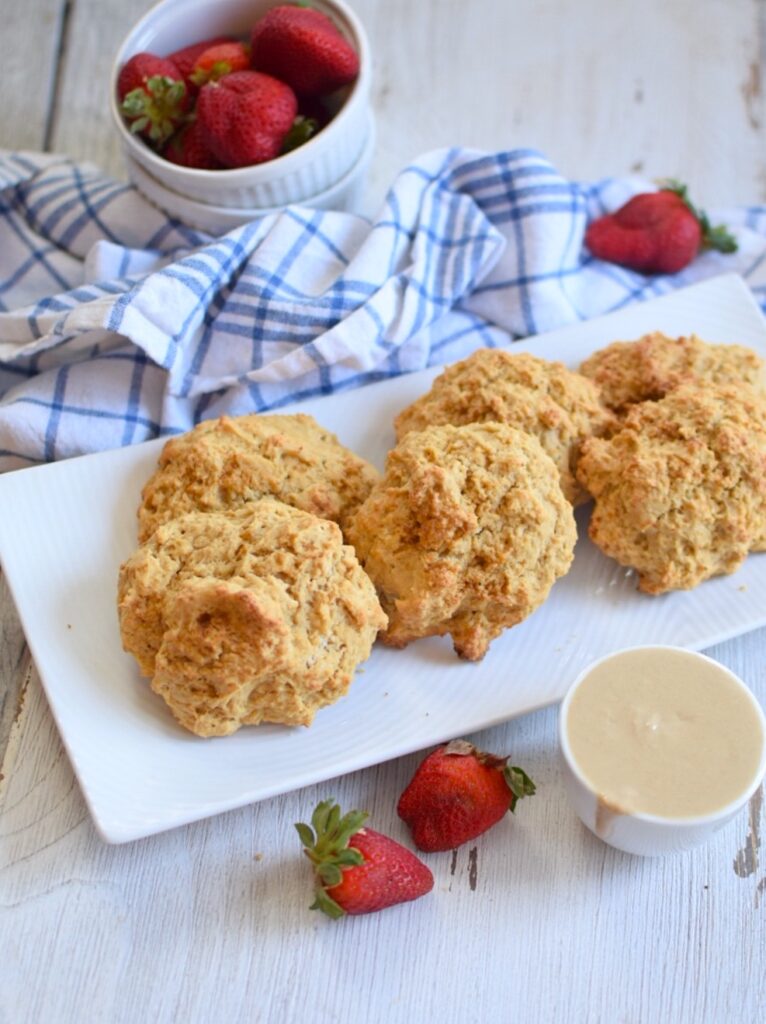
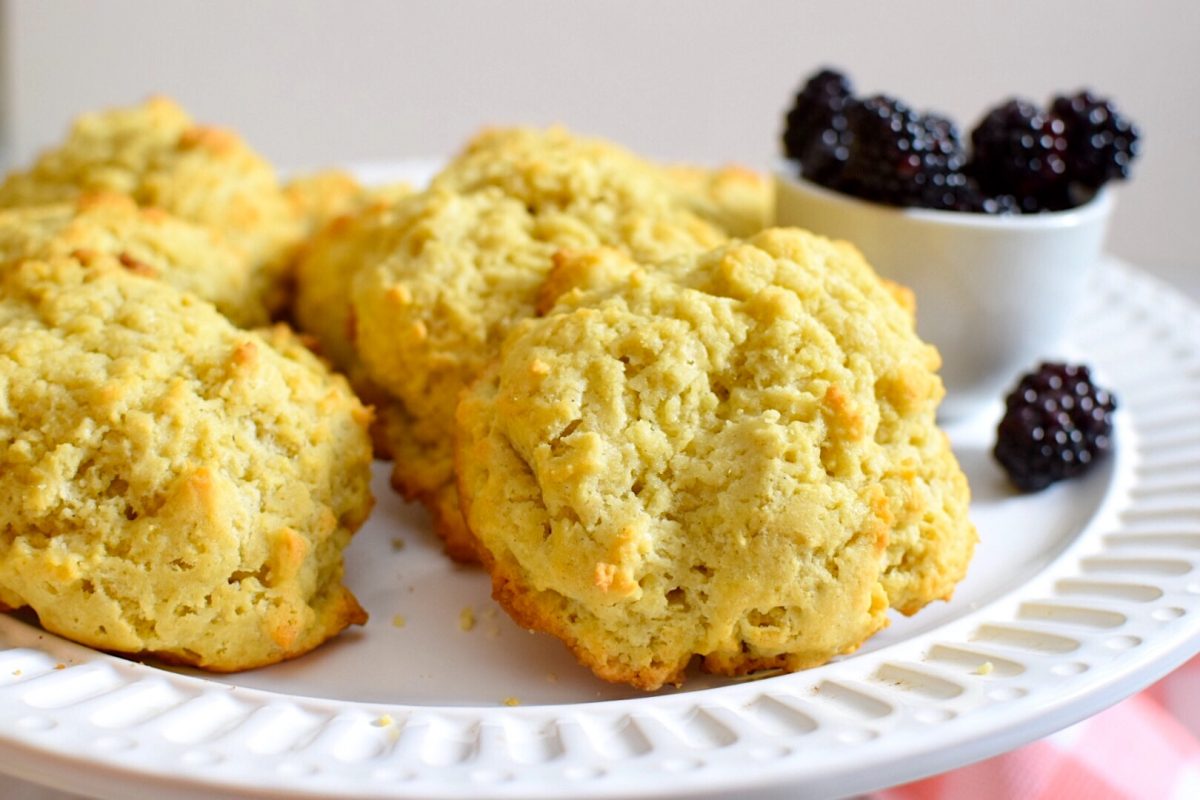
These rich and buttery gluten free rustic vanilla scones are so satisfying and delicious. They’re light, yet biscuit-like, with a golden brown top.
Good ol’ Butter
Now you may be wondering about butter and how it snuck it’s way into a health food blog. Well, we all know someone who has unfairly suffered a bad rap, right? Good ol’ butter has unfortunately endured a similar plight. When I grew up in the 80’s and 90’s, butter was definitely not the cool kid on the block and margarine and shortening were always in good stock in my family’s kitchen. Nowadays we have some better science with lots of case studies pointing out that butter has, in fact, not led to a massive amount of heart attacks like we once believed. (Unless of course you Paula-Dean it up by adding a stick of butter to EVERYTHING.)
Gluten Free Rustic Vanilla Scones
Grass-fed is key
In fact, depending on the country you live in, the evidence can prove to be even more hopeful. Two studies in Europe noted that intake of full-fat dairy has a strong link to a reduction of heart attacks and strokes. Whaaaaaat?!? Mind blown. This might be due to the fact that most Europeans consume grass-fed butter, which has proven to be even more beneficial than the typical American grain-fed butter. Figures that Europeans are a lot cooler (and healthier) for eating grass-fed butter. Curse them and their universal healthcare and tight men’s pants.
Always go Grass-Fed when choosing Butter
So what can we learn from our swanky friends across the pond? When it comes to butter, don’t bogart the grass. (And yes, I’m talking about real grass here.) Cows soak up more nutrients and minerals from grass as opposed to grain, and this translates through to their milk. Notice how grass-fed butter is a deep, golden yellow color? That’s because those blessed cows are receiving more beta-carotene, a form of vitamin A, found in plants. (Beta-carotene is also what makes carrots so orange). Compared to grain-fed butter, grass-fed butter is richer in Omega-3s, vitamin K2, and Conjugated Linoleic acid (CLA), a fatty acid proven to boost the immune system and fight diseases. So the take-home here is crack is whack but grass is brass. Also, butter is grrrreeat!
Gluten Free Rustic Vanilla Scones
Final Note
These scones are incredibly easy to make. As you’ll see below, everything goes into a food processor which is not the traditional way to make scones, I know. If you don’t own a food processor, you can simply use a fork or pasty blender to crumble the butter into the batter. Either way, they should turn out similar.
Gluten Free Rustic Vanilla Scones Recipe

GLUTEN FREE VANILLA SCONES
Ingredients
- 1 stick cold, grass-fed butter 8 Tablespoons
- Coconut oil spray
- 1 and 3/4 cup gluten-free all purpose flour mix*
- 1/3 cup coconut sugar** more for dusting
- 2 teaspoons baking powder
- 1/2 teaspoon xanthan gum***
- 1/2 teaspoon salt
- 2 large eggs
- 1/3 cup cold unsweetened almond or coconut milk
- 1 Tablespoon gluten-free vanilla extract
Instructions
-
Cut the cold butter into small cubes, place on a small plate, and place in the freezer for about 15 minutes to harden.
-
Meanwhile, preheat oven to 400 degrees F. Line a large baking sheet with parchment paper and spray with coconut oil spray. Set aside.
-
Place the flour, sugar, baking powder, xanthan gum and sea salt into a food processor. Pulse about 2 times to mix dry ingredients. Remove the butter from the freezer and add to the dry ingredients in the food processor. Pulse 5 - 10 times to slightly incorporate the butter.
-
In a small mixing bowl, whisk together the eggs, milk, and vanilla. Add to the food processor and pulse a few times. The dough should be cohesive and very sticky with bits of pea-size butter remaining intact. Place dough in the fridge, covered, for about 15 minutes to firm slightly.
-
Next, using a large spoon, scoop out large spoonfuls and place onto prepared baking sheet. Don’t fuss with shaping them too much; I like this because it keeps them looking rustic. Spray the tops lightly with oil spray and dust with a little sprinkle of coconut sugar.
-
Bake for about 13 - 15 minutes or until golden brown. Remove from the oven and let rest for 5 minutes on the baking sheet before transferring to a cooling rack or serving.
-
Serve warm. I like these with tahini butter spread and homemade strawberry jam!
-
To store, place scones in a sealed container in the fridge for 4 - 5 days.
Recipe Notes
*Trader Joes makes a really good gluten-free all purpose flour mix. **If on an anti-candida diet, use Xylitol (recommended brand: Xyla) instead of coconut sugar.
***If your gluten free flour blend already contains xanthan gum or guar gum, omit this ingredient.
If you love scones, you may also like my Paleo Chocolate Chip Scones For a Candida Diet, Gluten-Free Carrot Cake Scones (with a candida diet option), or Gluten-Free Orange Cranberry Scone.


I made these today and they are soooo good. I didn’t have a food processor but use the pasty cutter and my hands. It worked!! I’m just wanting to know what the nutrients are per scone. Protein, fats, carbs and calories. Thank you!!
I’m so happy you enjoyed the scones!! And a pastry cutter is really the traditional way, using a food processor is actually a cheat that most pastry chefs would probably cringe at, lol!
Per scone is approximately: 250 cal, 13g fat, 28g carbs, and 4g protein. Hope this helps!! 🙂
[…] Gluten-Free Orange Cranberry Scones or our Gluten-Free Rustic Vanilla Scones! […]
[…] Gluten-Free Rustic Vanilla Scones […]