The anxiously awaited main dish is gone, along with the cranberry sauce and whatever else came with the all-inclusive Thanksgiving meal. You tried hard to stick with a healthy diet, perhaps not entirely but “definitely mostly.” And then … out comes the dessert, and everything goes haywire. You have a dish that’s 90 percent whipped cream with a little slice of pie. Or, heaven help us if someone breaks out the ice cream. Who hasn’t, at least once, had the experience of being very full after a Thanksgiving meal, and yet tacked onto the discomfort level with a dessert bombardment?
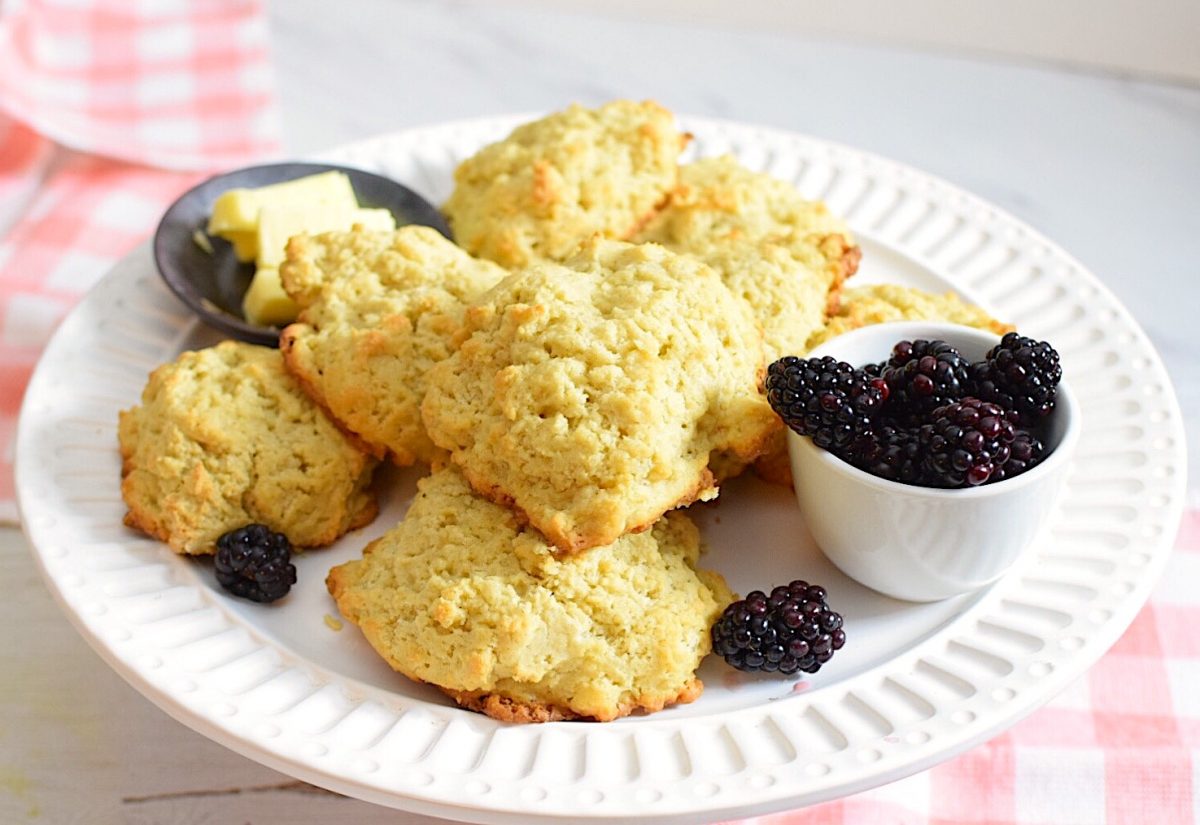
There is a solution: our Gluten Free Vanilla Scones! Now, mind you, any dessert dish however healthy should be consumed in moderation. But if you must indulge, why not try something that won’t hurt so much if you have more than one serving? These treats are healthy, gluten-free, and truly delicious! The biscuit-like scones offer just enough sugariness to satisfy that sweet tooth, and you can even augment the experience by adding some homemade jam.

My favorite is to serve these vanilla scones with tahini butter spread and homemade strawberry jam! The vanilla flavoring may be the key, adding a smooth sweetness without over-doing it. Note that the recipe calls for gluten-free vanilla extract. It also suggests xyla as a substitute for table sugar, an important element especially for those concerned about or suffering from candida. Overall his is a favorite dessert recipe and hopefully can top off your Thanksgiving meal experience.
Enjoy your holiday, everyone – may you have hearty and memorable times with family and friends!

GLUTEN FREE VANILLA SCONES
Ingredients
- ¾ cup tapioca starch
- 1 cup brown rice flour
- 1/3 cup xyla*
- 2 teaspoons baking powder
- 1/2 teaspoon xanthan gum
- 1/2 teaspoon salt
- 1/2 cup 1 stick cold butter, cut into small cubes
- 2 large eggs
- 1 Tablespoon gluten free vanilla extract
- 1/3 cup cold vanilla almond or coconut milk
Instructions
-
Preheat the oven to 400 degrees Fahrenheit. Line a large baking sheet with parchment paper and spray with coconut oil spray.
-
Whisk together the flour, sugar, baking powder, xanthan gum and sea salt.
-
Work in the cold butter cubes using your hands until the mixture is crumbly with pea-sized or just larger bits of butter remaining.
-
In a small mixing bowl whisk together the eggs, milk and vanilla. Add to the dry ingredients, stirring until well combined. The dough should be cohesive and very sticky. Place the dough in the refrigerator for about 15 minutes to firm slightly.
-
Next, using a large spoon, scoop out large spoonfuls and place onto prepared baking sheet. I like this because it keeps them looking rustic.
-
Bake for about 15 to 20 minutes or until golden brown. Remove from the oven and let rest for 5 minutes on the baking sheet before transferring to a cooling rack or serving.
Recipe Notes
*if candida is not an issue, use coconut sugar.
Previous Thanksgiving Healthy Eating Posts:
Addressing Cravings for Sweets around the Holidays: Being Candida-Conscious
Holidays Healthy Eating: Thanksgiving Style Quinoa Stuffed Acorn Squash
Pumpkin Spiced Waffles: A New Twist during ‘Pumpkin Season’


I’m going to try this the next with my kids. I’m sure they’re going to like this recipe. Thanks!