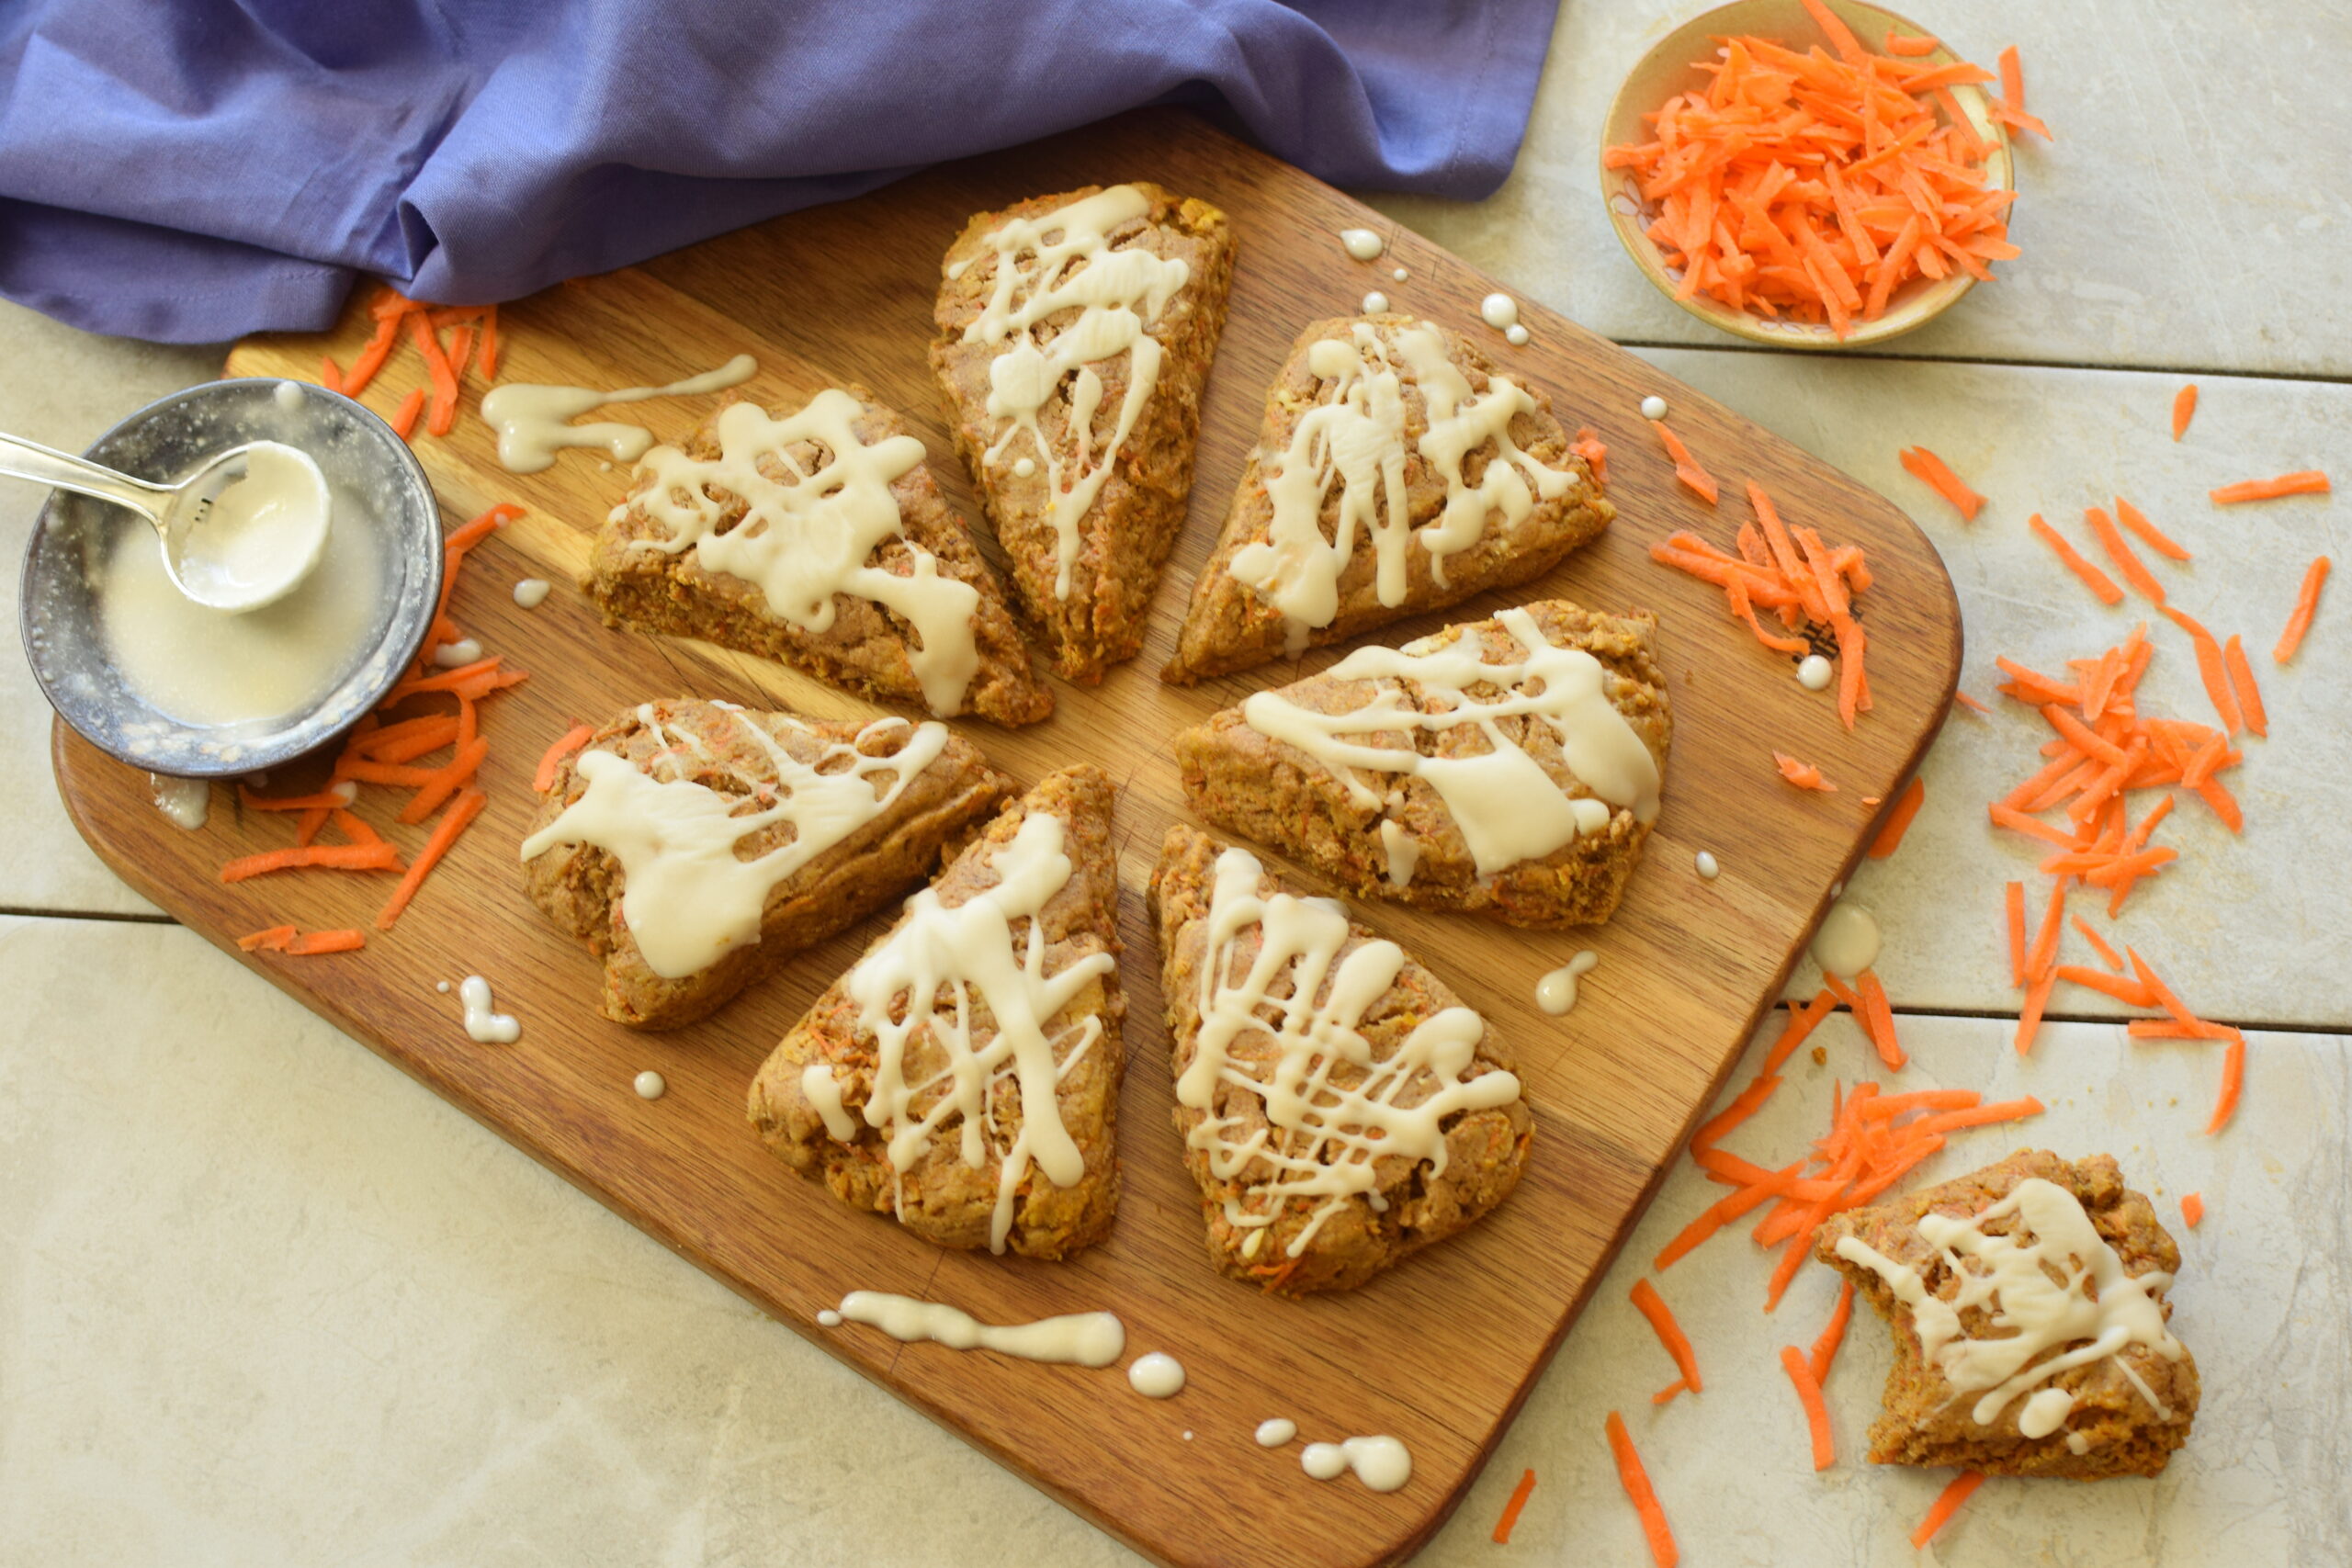
Soft and moist gluten-free carrot cake scones that are naturally sweetened with a candida diet option.
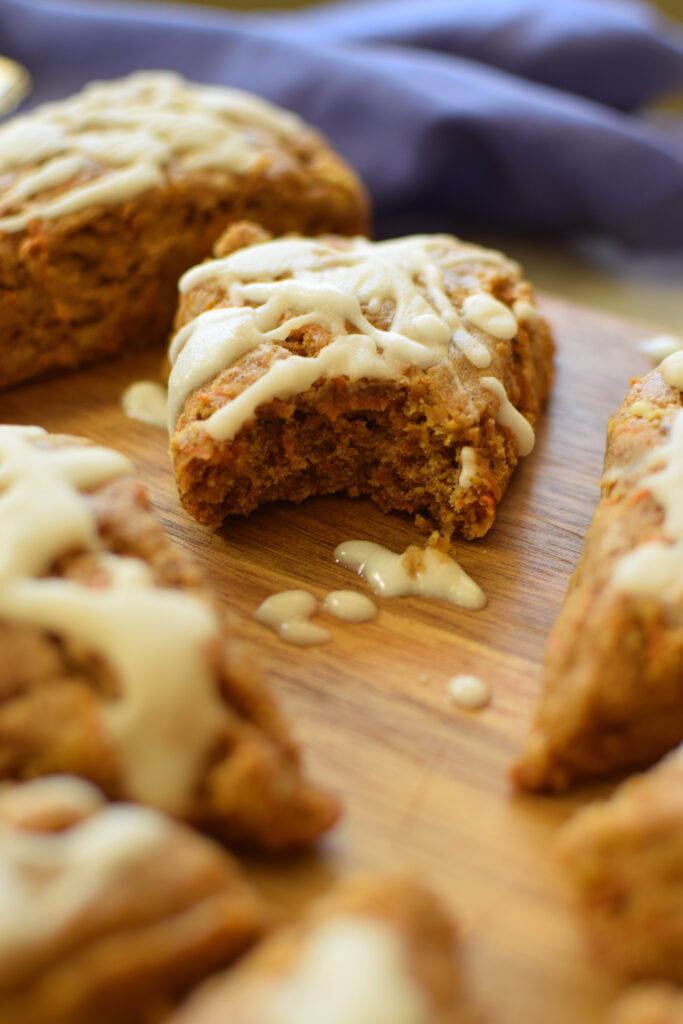
This quarantine has me craving carrot cake. Maybe it’s a comfort thing or all of the beautiful cakes I’m seeing on Instagram and Pinterest. I keep trying to come up with an excuse to make one. But since my family and I love scones, even my toddler, I thought why not make a carrot cake scone. And after four batches, I’ve finally perfected them. They’re soft, moist and perfectly sweet. But more importantly, they’re made with super healthy ingredients. Woohoo!

The Technique:
Traditionally, scones are made using a pastry cutter. After combing all of the dry ingredients, a pastry cutter (or two forks) work cold butter into the flour until a texture similar to wet sand is created. This keeps small pieces of butter in the batter which expand when baked. I’ve shortened this process by using a food processor, because who doesn’t like a shortcut in the kitchen. That being said, a pastry cutter is going to cost you about $10 where an 8-cup food processor is about $150, so I’ve included instructions for both methods.
Candida Diet Option
These scones are even adaptable for a candida diet. Simply use xylitol in place of coconut sugar (in equal amounts) and omit the raisins. Voila! These scones are so delicious and satisfying that you’ll probably forget you’re even on a candida diet. Yep, they are that good. You’re welcome. 🙂
And if you love scones like we do…
Be sure to check out these other delicious gluten-free scone recipes:
Gluten-Free Orange Cranberry Scones
Gluten-Free Rustic Vanilla Scones
Paleo, Chocolate Chip Scones for a Candida Diet
Specialty equipment and ingredients for this recipe:
Gluten-Free Carrot Cake Scones
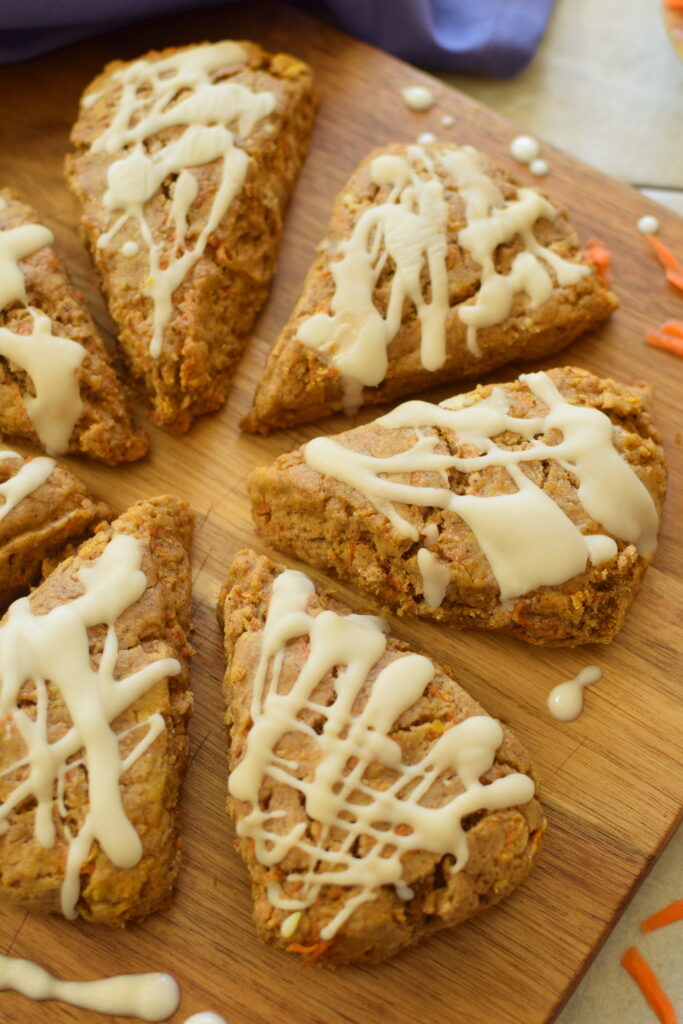
Gluten-Free Carrot Cake Scones
Gluten-Free | Sugar-Free (Candida) Option
Ingredients
Dry:
- 3/4 cup plus 2 Tablespoons brown rice flour
- 1/2 cup arrowroot or tapioca powder more for dusting cutting board
- 1/4 cup xylitol or coconut sugar use xylitol for candida diet
- 2 teaspoons baking powder
- 1 teaspoon ground cinnamon
- 1/2 teaspoon ginger
- 1/4 teaspoon nutmeg
- 1/4 teaspoon cloves
- 1/2 teaspoon baking soda
- 1/2 teaspoon xanthan gum
- 1/2 teaspoon sea salt
- 6 Tablespoons cold grass-fed butter
Wet:
- 1/3 cup unsweetened applesauce
- 1/4 cup pumpkin puree
- 1 teaspoon brown rice vinegar
Fold ins
- 1 cup shredded carrots
- 1/4 cup raisins optional (omit for a candida diet)
Sugar Free Drizzle
- 1/2 cup powdered monk fruit
- 1 Tablespoon coconut milk
Instructions
-
Start by placing 6 Tablespoons of diced butter in your freezer.
-
Next add all of the dry ingredients into a large mixing bowl and whisk to combine. If using a pastry cutter, add chilled butter to the bowl and cut into the flour until it forms a crumbly batter similar to wet sand. If using a food processor, add the whisked, dry ingredients to the food processor. Add chilled butter and pulse to combine until a similar consistency is reached.
-
In a smaller bowl whisk together all of the wet ingredients and add it to the flour mixture. Mix to combine. If using a food processor, place batter back into the mixing bowl. Carefully fold in shredded carrots and raisins (if using), cover with plastic wrap and place in the fridge for 30 minutes to chill.
-
Preheat your oven to 400 degrees with the rack in the middle of the oven. Line a baking sheet with parchment paper.
-
Place chilled dough onto a cutting board that has been lightly dusted with arrowroot or tapioca flour. Form into a circle that's about 8 inches wide across and 1/2 inch tall. Cut into 8 even triangles.
-
Place onto prepared baking sheet and bake for 14 minutes, or until golden brown. Carefully transfer to a cooling rack.
-
To make the glaze add, add powdered monk fruit and coconut milk to a small mixing bowl and mix with a spoon to remove any lumps. If you would like a thinner glaze, add more coconut milk 1/4 teaspoon at a time until desired consistency is reached. If you would like it thicker, add more powdered monk fruit.
-
Once scones are cooled completely, drizzle glaze on top using a spoon. Keep in mind that if the scones are still warm, the glaze wont set.
-
To keep scones firm, store on a plate or dish that is lightly covered with plastic wrap on your counter for 1 - 2 days. After that, transfer to a container with a fitted lid and place in the fridge for up to 5 days.

